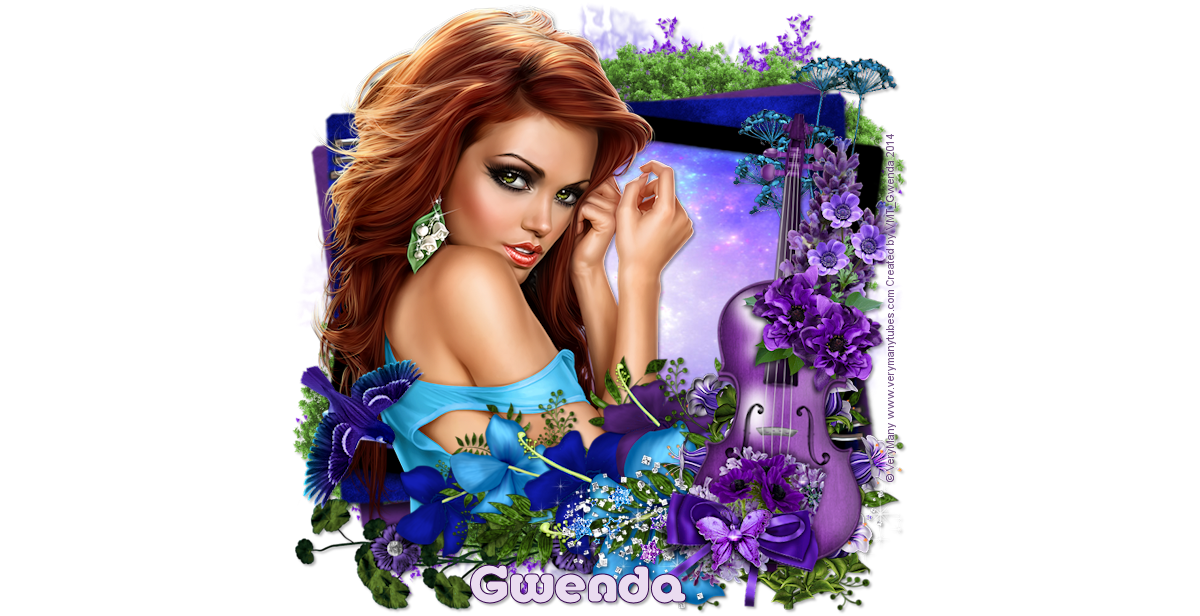
This
tutorial was written by me on April 21st 2018.
Any
similarity to any other tutorial is purely coincidental.
I
hope you enjoy it J
Tube: 117053 – Kaily by Alex
Prihodko
FTU Scrapkit: Lemon Tree by
Mizteeque
Template MPM816 by Millie at
Millie’s PSP Madness
Mask: WSL78 by Wee Scots Lass
Font: Skater Girls Rock
Open Template
Shift D to copy.
Close original
Resize 108% All layers checked
Open white background
Layers – new raster layer
Selections – select all.
Paste Paper 8 into selection
Deselect
Apply mask
In layers palette – merge group
Stretch to all edges
TEMPLATE
LAYER 1
Delete
TEMPLATE
LAYER 2
Open Paper 7
Crop to remove frame around the
outside
Click on Template layer 2
Selections – Select All. Selections
– Float. Selections – Defloat
Layers – new raster layer
Paste Paper 7 into selection
Deselect
Close template layer
Element
18 Frame
Resize 65%
Paste above Paper 7 layer
Sharpen
Dropshadow
Element
26 Flower Scatter
Resize 60%
Paste above Element 18 layer
Slide to top left corner
Sharpen
Duplicate – mirror
Merge both copies together
Duplicate - Flip
DO NOT DROPSHADOW
Cluster
2
Paste above Element 26
Slide to Bottom left corner
Sharpen
Duplicate – mirror - flip
DO NOT DROPSHADOW
Element
13 Leaves
Resize 40%
Paste above Cluster 2 layer
Sharpen
Duplicate – mirror - flip
Dropshadow both
TEMPLATE
LAYER 3
Selections – Select All. Selections
– Float. Selections – Defloat
Layers – new raster layer
Paste Paper 3 into selection
Deselect
Sharpen
Give inner bevel of choice
Duplicate – mirror – flip
Close template layers 3 and 4
TEMPLATE
LAYER 5
Selections – Select All. Selections
– Float. Selections – Defloat
Layers – new raster layer
Fill with colour #5d5501
Deselect
Give inner bevel of choice
Duplicate – mirror – flip
Close template layers 5 and 6
TEMPLATE
LAYER 7
Selections – Select All. Selections
– Float. Selections – Defloat
Layers – new raster layer
Fill with colour #335c7d
Deselect
Give inner bevel of choice
Duplicate – mirror – flip
Close template layers 7 and 8
TEMPLATE
LAYER 9
Selections – Select All. Selections
– Float. Selections – Defloat
Layers – new raster layer
Paste Paper 9 into selection
DO NOT DESELECT
Selections – modify – expand 4
Layers – new raster layer
Fill with colour #335c7d
Deselect.
Close template layers 9 and 10
In layers palette, move blue rectangle
to sit below Paper 9 rectangle
Give inner bevel of choice to Paper
9
Sharpen
Duplicate – mirror – flip
On Blue rectangle – adjust – add noise.
Gaussian 35
Sharpen
Duplicate – mirror – flip
Make sure the blue rectangle is
below the paper
Dropshadow both blue rectangles
TEMPLATE
LAYER 11
Selections – Select All. Selections
– Float. Selections – Defloat
Layers – new raster layer
Paste Paper 2 into selection
DO NOT DESELECT
Selections – modify – expand 4
Layers – new raster layer
Fill with colour #335c7d
Deselect.
Close template layers 11 and 12
In layers palette, move blue rectangle
to sit below Paper 2 rectangle
Give inner bevel of choice to Paper 2
Sharpen
Duplicate – mirror – flip
On Blue rectangle – adjust – add noise.
Gaussian 35
Sharpen
Duplicate – mirror – flip
Make sure the blue rectangle is
below the paper
Dropshadow both blue rectangles
Element
27 White Flower
Resize 30%
Paste above Paper 2 centre rectangle
Slide to sit on top left corner of rectangle
Sharpen
Duplicate – mirror – flip
Dropshadow both
Tube
Shift D to copy.
Close original
Resize 48%
On the blue layer, using selection
tool, draw around the dress.
Adjust – Hue & Saturation –
Colorize.
H=146 S= 108
Paste above Element 27 layers
Sharpen
Dropshadow
TEMPLATE
12 WORDART
Resize 70%
Slide to far right centre
Selections – Select All. Selections
– Float. Selections – Defloat
Selections – modify – expand 2
Fill with white
Deselect.
In layers palette, move white layer
below wordart
Dropshadow white copy
Add copyright, close white
background.
Save as a png.


No comments:
Post a Comment